This is an important part of series where we will create the Page Management APIs in node.js and front-end in Angular, we will be able to create the pages, add the content (text, images, links, etc.) and attached them with the menu items that we have developed in earlier part as Menus Management. You would be able to create as many pages as you want and update them anytime without touching the application code, which will act as a simple Content Management System. For the page editor, we will use TinyMCE control for Angular that works great to provide us with different features to create an awesome front-end page. In fact, the article you are ready now and all others are written using Angular TinyMCE control.
Introduction
In this part, we will work on Page Management APIs. In previous parts, you saw that we created the static pages for Services, Our Team menu items, etc. that is tedious if you want to update the content of any page because we need to rebuild and deploy the application every time. In this part, We are going to create the Page Management section where a user would be able to create the page content in the admin section, add the link, images, format the text, associate it with the menu item and publish it. We already have created the Menus Management section to create, read and update the menu items. This is very helpful because every time when an end-user would need to update the content, s/he can simply log in to the admin section and update the content of the page in Page Management section that would immediately be updated and viewed on the page, no need to rebuild and deploy the application, that would be our custom semi Content Management system.
Let’s Start
It is strongly recommended to read all previous parts before moving to this one, I can’t promise you would understand all the steps I am going to list down without knowledge of previous parts.
- Please follow the Part 8 part and make sure the application is working fine before starting this one. A fully functional Menu Management section is pre-requisite for this part.
- As stated in the Introduction, we will create the Page Management section, but first, we are going to create the Page Management RESTful in node.js using an Express.js framework. We will create a page model class that would have page elements/fields and as soon we will access any API, the page collection would be automatically created in Mongo DB. (MongoDB has collection instead of Tables and each collection has Documents that are equivalent to rows/records in a relational database)
- In the server folder of MAZHARNCO solution, right-click on models folder and select option New File, specify the file name pageMdl.js and hit enter. Paste the following code in the pageMdl.js file:
- Let’s try to understand it, you can see we have two schemas defined, one is UploadSchema that would be used to store any kind of attachment mostly for images and second is PageSchema that will store actual page information. One of the elements/key Images in PageSchema is of UploadSchema type. So one page can have N number of images. MenuCode will hold the corresponding menu associated with a page whereas Content will store the entire page HTML, rest of elements are self-explanatory. The
PageSchema.index({ '$**': 'text' });will make full-text search enabled that is helpful when we will implement the website-wide search functionality. - In the previous step, you saw that we are also giving the images upload functionality, in order to facilitate it, we can use multer package that is node.js middleware and handle multipart/form-data which is primarily used for upload file. If you are an experienced developer you would have seen it many times when using HTML upload control. You would see it in action in the next step, first, let install it. Right-click on the server folder and select the option, Open in Terminal. In TERMINAL tab, enter the command: npm
install -save multi - We need two more packages for Page Management APIs, first is crypto, that we would use to create a random name for the image, second is mime-types to get the format and extension of the image to be uploaded. You will also see them in action in next steps that would give you a clear understanding, staying in Step 5 TERMINAL, after multer is successfully installed, enter these two commands (you can combine it in one like I am doing here):
npm install -save crypto mime-types - All the prerequisites for Page APIs are done, let’s go ahead and create the page.js file and add the APIs code in it. Right-click on routes folder and select the option New File, specify the file name page.js and add the following code in it:
- The page.js has few more APIs than our standard GET, POST, PUT and DELETE APIs, we will not use all at once but at the end of this series you would see all APIs in action, Let understand the important part of the code:
- We installed multer in earlier steps, you can see in
var storage = multer.diskStorage({..code block, we are specifying the uploads folder as our destination file storage, and alsocrypto.pseudoRandomByteswill generate the 16 characters long file name to make it uniquely identifiable and avoid file replacement in case of the duplicate image name.mime.extensionwill return us proper file extension e.g. .jpeg, .gif that we are appending at the end of file name. So basically, this code block is only related to an uploaded image, it replaces the file name to some 16 characters long string and stores it in uploads folder at the same level where the server folder resides. You can also change the folder name and path if you want. Thevar upload = multer({ storage: storage }).single('photo');will store a single file on a disk. Right-click on server folder, select option New Folder and specify the name as uploads. - The
router.get('/page', function (req, res) { ...is simple GET API to load all pages sorted byDatePublished. - The
router.get('/page/:id', function (req, res) { ...will get all pages (most likely one in our case) from a database byMenuCode. As explained earlier, the page should be associated with at least one menu item, so the menu code is the required element for page document. - The
router.get('/page/search/:searchStr', function (req, res) { ...would be used to search anything in page document that user will enter on front-end search textbox, you can see on a top right corner we have a textbox with Search button next to it that is not functional yet but in upcoming steps, we will implement that search functionality and use this API as a backend. - The
router.post('/page', function (req, res) { ...would be used to create the new page. You can see thepageObj.Imagesobject is storing an empty array in case of no uploaded images. Remember thatImagesis ofUploadsSchematype as we saw in pageMdl.js. - The
router.put('/page', function (req, res) { ...is used to update the page, no magic code in there, pretty simple. - The
router.delete('/page/:id', function (req, res) { ...would be used to delete the page. - The
router.post('/page/upload', function (req, res, next) { ...would be used to upload the image, basically, save it in the uploads folder. You can see we are callinguploadmethod that we created in step 1 of this section. On the front end, when a user would upload an image, this API would be called to store it in uploads folder and rest of image information e.g. image actual name, file type, and a path (that would return by this API) would be stored in session asImagesarray. Once user would add or update the page, theImagesobject would be passed to POST/PUT API (step 5) and stored it in the database (Imagesis ofUploadsSchematype as we saw in pageMdl.js). This will be more clear when we will develop our front end section in Angular. - The
router.delete('/page/img/:id/:iid/:fn', function (req, res) { ...has three input parameters and would be used to delete the uploaded image, theidis page id to find the page from the database, theiidis image id andfnis the file name. Thefs.unlickwill delete the actual file from uploads folder and in rest of the code, we are first finding the page, then the image in the page and delete it. Remember, one page can have many images. - These APIs will make more sense once we would use them in frontend Angular application.
- We installed multer in earlier steps, you can see in
- That’s pretty much on page model and APIs, the last steps are to add the APIs reference in mazharnco.js that is main entry file for a server application. Edit the mazharnco.js in server folder and replace its content with the following:
- One extra line of code other than standard code is
app.use('/uploads', express.static(path.join(__dirname, '/uploads')));that will allow our application to use the uploads folder to upload the images and access them from front end when we will render the page. - Your page APIs should be working now, let’s test them in Postman, first run the application, right click on server folder and select the option Open in Terminal, run the command:
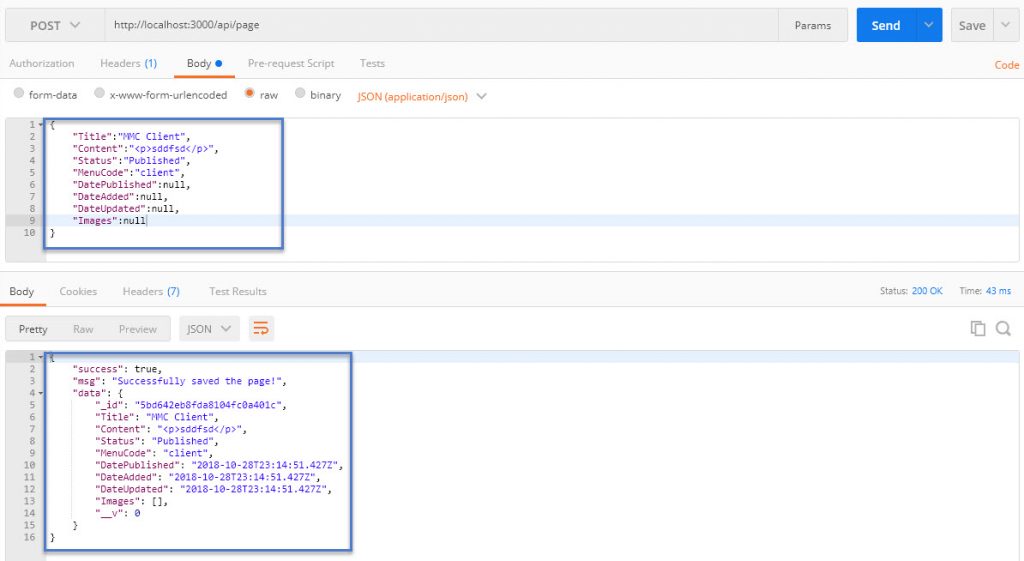
pm2 start environment.json --env development. Make sure it is green, you can also see the application status by the command:pm2 show mazharnco. This will show the brief description of running application along logs path that is good for seeing the errors. - Open the Postman is open, select the HTTP verb as Post and URL as http://localhost:3000/api/page , in the body, add the following JSON:
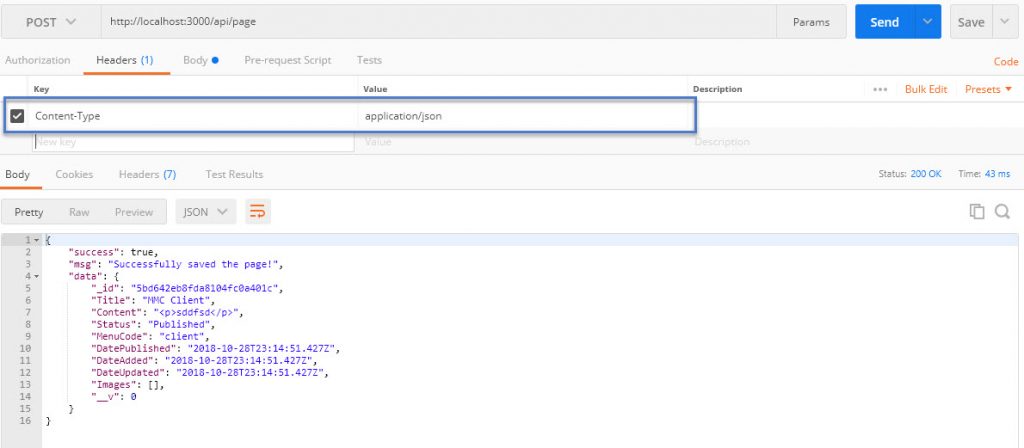
{"Title":"MMC Client","Content":"<p>This is a test page.</p>","Status":"Published","MenuCode":"client","DatePublished":null,"DateAdded":null,"DateUpdated":null,"Images":null}, hit the Send button, you should see the successful response. Make sure in the Headers tab, there is a key Content-Type is present and checked with the value: application/json. - Open the Robo 3T and browse the mazharncoweb collection, expand the collection and you would see the new pages collection in it, double-click on it and you should be seeing a new document that you just created.
- Let’s create a client application in Part 9 – B, since this is becoming a quite long article and I don’t want to scare you with all this crap. Following is a Postman screenshot in case you want to compare with yours.